Archive
Ike’s Upgrades
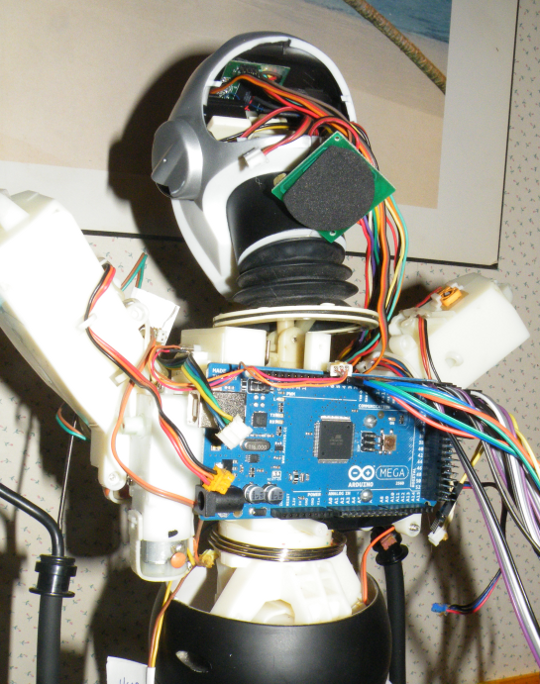
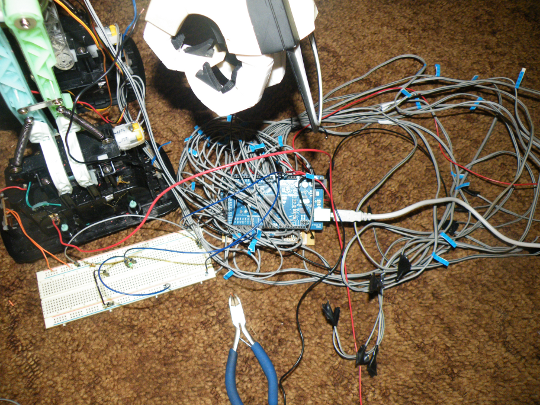
I’ve been working on Ike, my toy robot project for awhile now, and I’ve made some serious progress. What once started as a concept is starting to really show itself as a reality. The Arduino board I once imagined controlling this bot is now securely fastened to his back. All of the pins that supply output and input to drive this contraption have been mapped, and the real work of putting him back together is beginning.
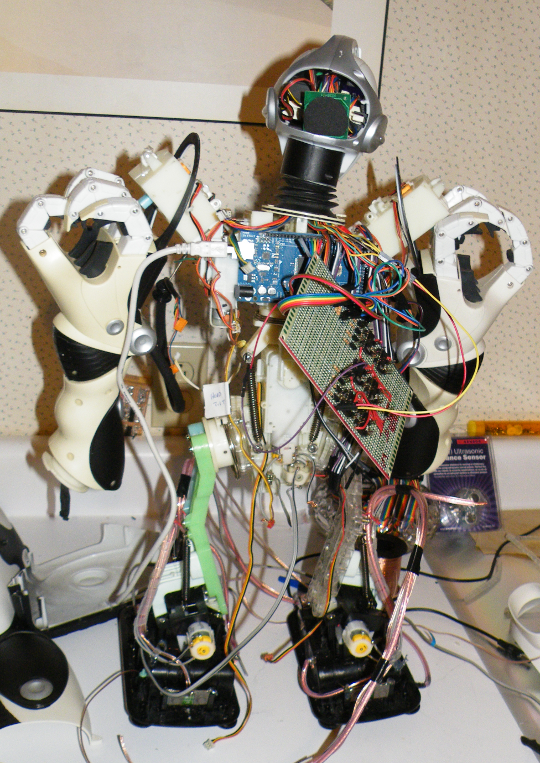
The Arduino board itself is quite impressive, but it’s not a robot control solution in it’s self. The board still requires the help of some additional circuits, and additional power. The motors that drive Ike’s movements use 9 Volts, and both wires need current at different times. To solve this dilemma, I’ve added H-Bridges, that convert the Arduino’s output into 9 Volts on the required wire. This allows the motors to more forward or back as needed.
Below the H-Bridge cluster is a series of connectors and resistors which will enable some of Ike’s sensors, and under that, the row of resistors is an area dedicated to powering Ike’s new multi-colored eyes. He originally had only blue eyes, but now his eyes can range wildly from blue to red to white. The LEDs are also capable of green, but Ike’s visor filters most of this light out, and it appears a dull gray instead.
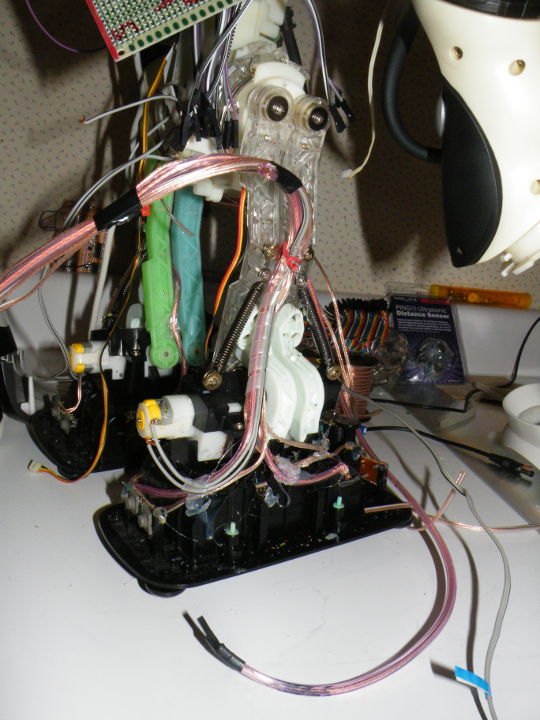
In addition to Ike’s new eyes, and control boards, I’m re-wiring every component. In place of the thin wires that didn’t last, I’m putting some seriously thick wire where needed. I found this ridiculously thick speaker wire which was meant to power those thumping stereos in the younger generation’s cars. It should definitely do the trick, and last for quite a while as well.
Here’s an exploded view of sorts, which shows how the two boards will be stacked. The Arduino board will be about an inch below the new motor control board. The second board will be integrated into Ike’s exoskeleton. I’ve had to cut a big chunk out of his backs plastic to mount this board.
I’ve been considering adding a third Raspberry PI board on top of the Motor control board…… but, I better finish this stage first. If I do add this third board, Ike won’t require a USB connection, and I should be able to add in Voice Recognition.
All in all, I’ve made a lot of progress. This robot is more then just a toy, it’s a method to force myself to learn something I’ve always wanted to know: How to wire electronics. I’ve long ago mastered the methodology of computers, but electronics has always eluded me. It was always something I was planning to do in the future.
The future is now, and I’ve learned far more then I thought I would from this project. When I finished soldering Ike’s motor control board, I realized I could use the same methods modified just a bit to build robots that build walls…. Just as a car factory uses robots to build cars.
Warm Season Wrap-up
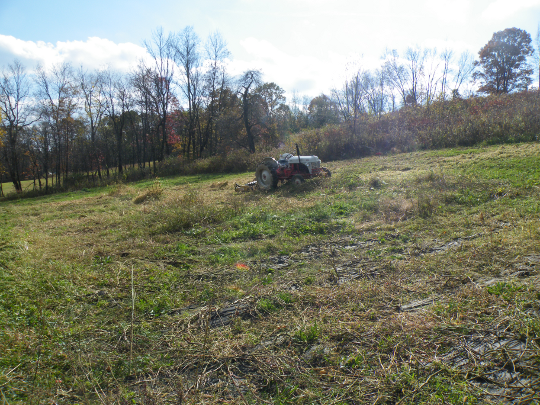
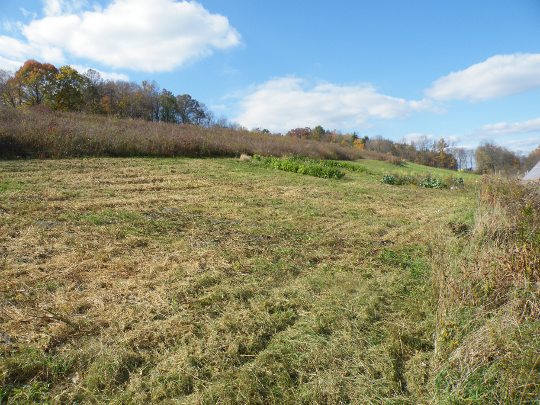
The warm season is almost over, and I decided to mow down all of the nearly lifeless plants that remained. I used the 8N tractor and the finish mower to chop up all of the remaining plants so that they will begin rotting back into soil sooner. If I hadn’t chopped up the stalks, they would not begin rotting until the plant matter met up with the soil in the spring, so I’m really giving the worms, and everything else that feeds on this matter a jump start on the spring. If the garden was flat I would have it rototilled in the fall, but the slope is steep enough that I worry the soil will wash away.
When I was finished, I found it hard to believe that dozens of pounds of tomatoes, potatoes, and arm fulls of celery had grown in this space. If not for the black weed blocker that remains spread out along the ground, it would be easy to believe this was simply the back yard that I was mowing. I’m now left with a more traditionally sized garden which contains the winter crops I’ve begun to experiment with. I have an approximately 20 by 20 foot space very close to my house where Chard, Broccoli, Brussels Sprouts and Garlic are growing.
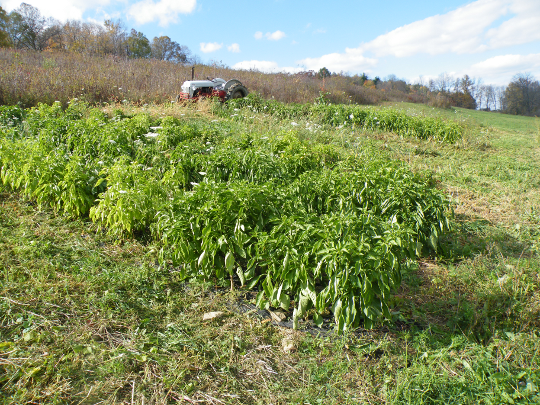
I decided not to mow over the pepper plants because they still looked very healthy, and continued to grow new peppers. It takes these plants a long time to get started producing peppers, but once they grow to full size, the plants sets peppers fairly quickly. I figured that if we didn’t get a frost for a few more weeks, I could potentially get several extra shopping bags full of peppers in that short amount of time.
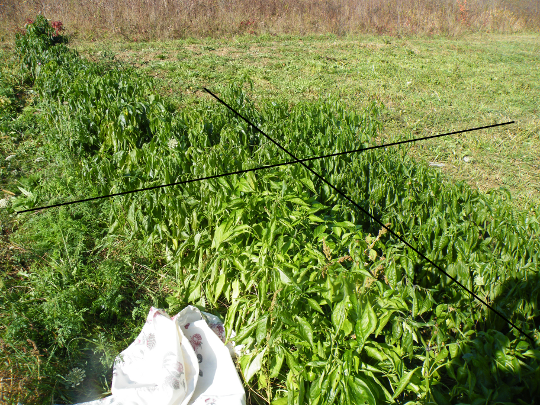
The weatherman called for frost and I wanted to learn all I could while I had the opportunity. I’ve rarely tried to extend the growing season in the fall, so I thought I would find out just how effective covering plants to protect them from frost would be. We already have plenty of frozen peppers to last many months, so I’m doing this more for the sake of knowing if it will work, rather then trying to grow extra peppers. I only covered one section of plants, and I left the others as they were.
I found out the next morning that a simple sheet will protect the plants. You can see just how bad the unprotected plants were harmed by the frost. The protected plants have upright leaves, whereas the unprotected plants look terrible with dropping leaves.
Now, I’ll keep an eye on the protected pepper production, and see if it’s worth the effort in the future.
Unconventional Door
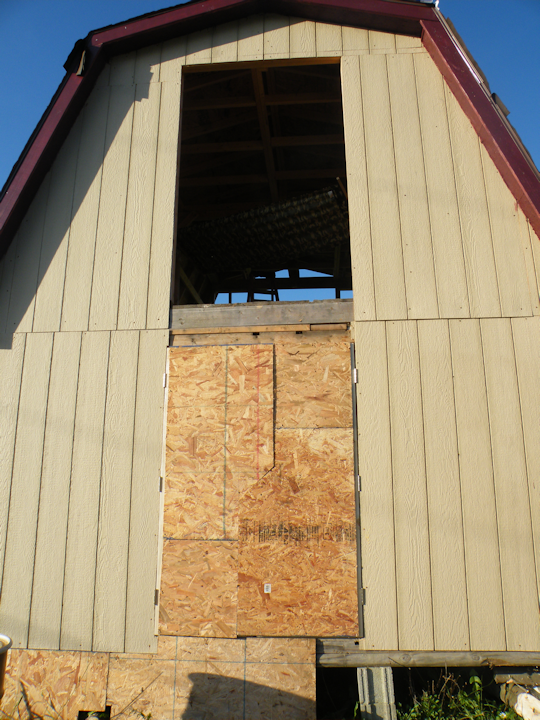
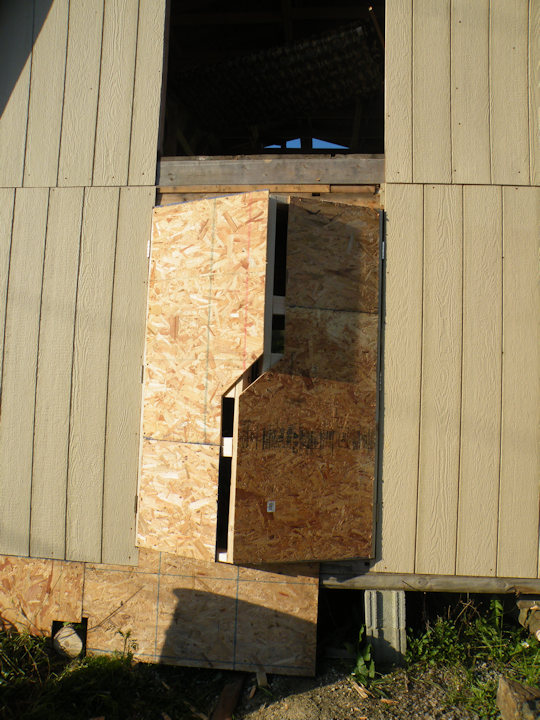
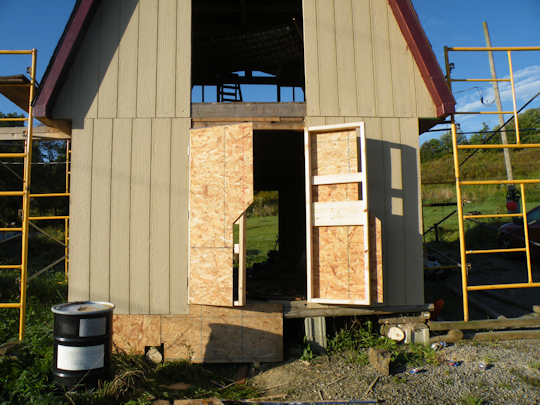
I finally got enough other work done to begin constructing the first door for my shed. I built the basic frame, and with Davies help attached it to the hinges. At this point, I decided to take a break. I had an idea for how I wanted to build my doors, but these doors would be like no other, so I decided to take a few hours and think about it while working on another project.
After clearing some brush I decided I was going to go through with my somewhat radical plan. The doors would overlap each other, and fit together like doors in an air lock. Why did I build these odd looking doors ? Mostly because I could, but this design eliminates the vertical gap that usually separates two doors. Without the vertical gap, less air will leak through in the winter.
So there they are, my unconventional doors. Whatcha think ?
You may also like:


 This Old Barn: Part 1
 From the Ground Up
 Roof Framing
 It’s Getting Hot in Here….
 Moving and Sheeting
 George’s Free Range Chickens
 Made in America


Comments: