Archive
Spreading Manure
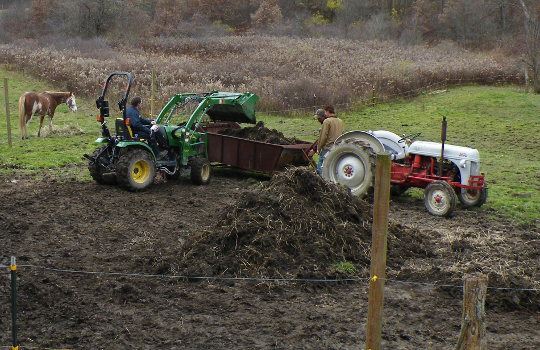
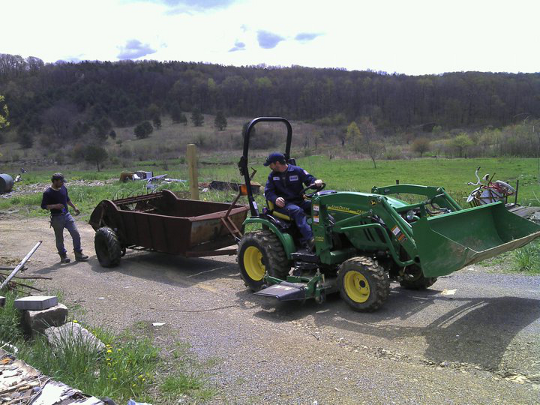
Over the weekend, Rob and Maurice were cleaning up the horse pasture, and piling up the manure. After seeing the pile, I rushed off the get my tractor and connect the manure spreader. The manure spreader is a fancy wagon that is capable of carrying about a half truck load of manure from the field to my garden. The machine saves a great deal of manual labor, as in the past I had to shovel the manure into a truck, then shovel it back out. With this spreader, Rob could load the manure with his tractor, and I could use the flinging capacity of the spreader to apply a thick layer of organic fertilizer to the garden without touching a shovel.
On our first use of the machine, Rob loaded it up so that the manure towered nearly a foot over the edges. We all assumed that the tractor could pull the wagon heaping full of manure, and it worked with some rough driving. In order the steer the tractor I had to use the rear brakes, as the front end tended to lift itself off the ground. Then just as I passed over the small rock wall on the edge of my garden the manure spreader experienced a mechanical malfunction: The hitch separated from the spreader.
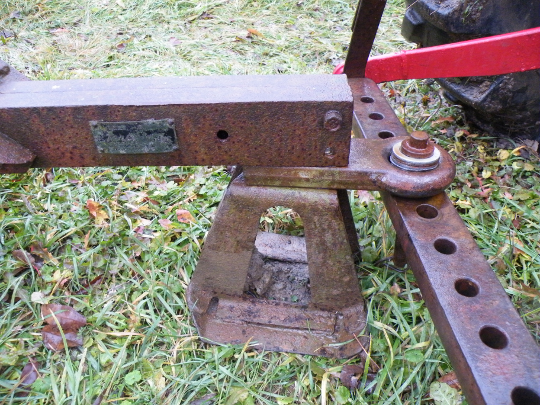
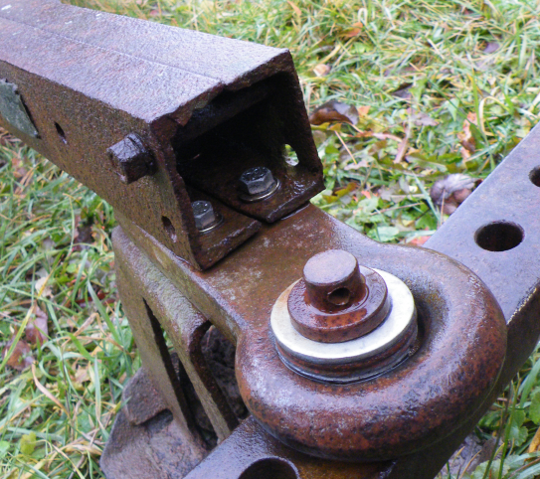
The spreader was constructed with a hitch and a handy built on spacer that keeps the hitch from laying on the ground. The whole hitch assembly was held together by four very rusty bolts which snapped as I tried to pull the wagon over the small rock wall. Luckily we found four bolts in the barn that fit the assembly.
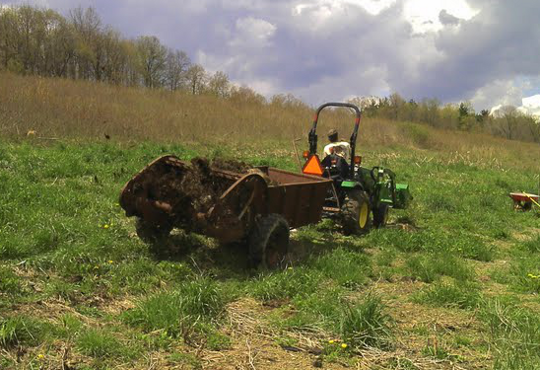
After reconnecting the hitch it was time to try out the spreader. At first the machine seemed to be working with all of the gears moving but no flying fertilizer. Soon we found a mechanism which advances a track system in the wagon. The tracks force the load back at 1/2 inch intervals, and when the manure moves back far enough, the rotating spikes in the tail end fling the manure in every direction.
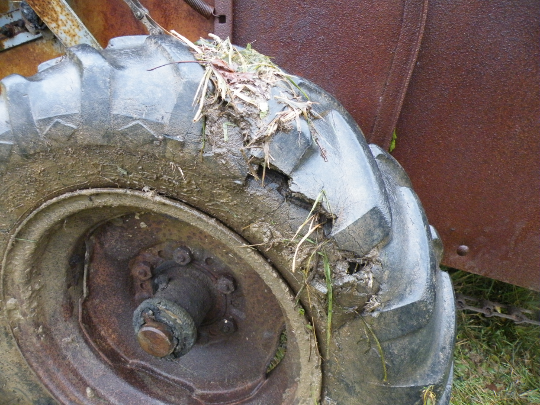
We all decided after the first load to fill the spreader only half way, since the tractor had trouble negotiating the hill with such as heavy load. The lighter loads helped smooth out the whole process, and before I knew it I was gaining confidence in this new tool. All was well until I noticed the tires inner tube bulging out the side of the wheel. I knew this could be a show stopper as flat tires don’t tend to turn well, but I kept on driving and kept constant watch. After nearly half of the work was done, I noticed the bulge in the tire missing, and curiously the tire was only about half flat. If the inner tube was punctured, the tire should have lost all of it’s air, but it did not. I decided not to wonder why it was still inflated, and figured I’d just be happy and keep working.
When the whole garden was covered, I took this picture which shows the layer of fertilizer covering the garden. The garden begins along the row of trees on the left, and runs behind the greenhouse out to the edge of the field where the poles are sticking out of the ground.
You may also like:
 Getting Serious About Organic Fertilizer
 Things Keep Piling up Around Here
- Rob uses the John Deere to fill the Spreader
- Hitch Assembly
- Hitch with New Bolts
- Tire Issues
- One-Half Acre Covered in Manure
Getting Serious About Organic Fertilizer
There’s a new tool on the farm, one that’s been needed for far too long: a John Deere tractor. Now that it’s finally here, it’s time to get serious about spreading manure. The manure spreader has been on the farm as long as I can remember, but it was never much use without a tractor to get it moving. Before we could use the spreader, it needed to be oiled up, and prepared to work. The machine has been sitting idle for years, so we had to knock off some rust here and there, add air to the tires and replace a few pins.
The bucket on the front of the tractor is very useful for getting giant scoops of manure and plopping them into the holding area. When it’s full, simply pull it to the field, and flip a lever. The cart then uses the rotating motion of the wheels to power a series of gears which fling the poo everywhere, and in just the right amounts. Manure should be allowed to rot for a year before spreading it, or spread it at the end of the season. I can’t express just how much work this tool has saved me, as I used to do all this work with a pitch fork !
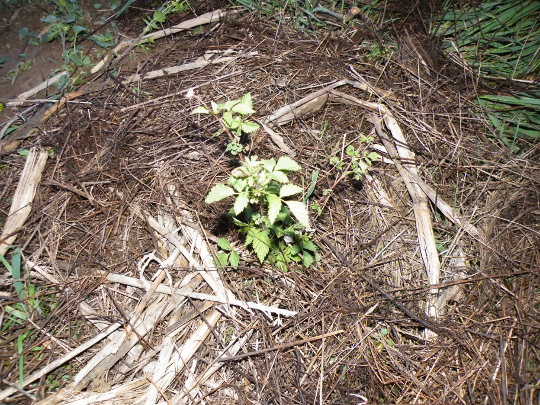
After all of the progress in the garden, I finally got around to planting these “Black Raspberries”. My sister gave them too me last year, and they have been sitting in buckets next to my walkway. When they were in the ground, I mulched then with some straw to prevent weeds from growing nearby.
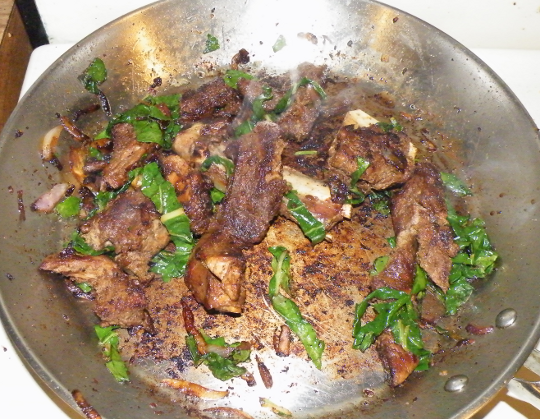
To replace all of the energy I expelled during the day, I figured it was time to try out something new. In the fall of last year we bought a “half-cow” or all of the meat cuts from the animal. Since I’m not used to the names of the different cuts, it’s been a trial and error learning process about how to cook it. I like to keep things simple, so a frying pan, and some butter seemed appropriate. I then cut up the “English Roast” to help it cook better, and tossed in a few Stuttgarter onions from last years garden. Just as I was about to finish up, I ran out and grabbed some Chard, and added it before calling the whole concoction “edible food”. I really enjoyed the taste, so I thought I better add this to my blog so I won’t forget how it’s made.
Things Keep Piling up Around Here
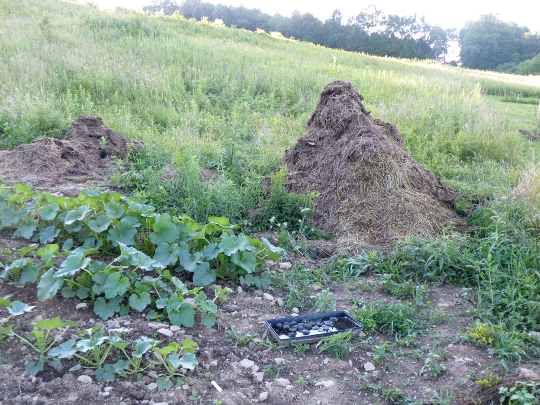
Things just keep pilling up around here, but that’s not a bad thing. These piles are like garden gold, and they are my new weapon against weeds. Instead of weeding the garden, I’ve been piling manure on the weeds. I’m hoping the lack of light will turn these pests into more bio-mass.
The pile above is Goat Manure, one of the best sources of vitamins for a garden I’ve seen, and has PH characteristics of Horse Manure. The real benefit of this not so smelly stuff is the lack of seeds. I’ve been using it to side-dress the winter squashes, as the composted rabbit manure wasn’t giving the plants the kick I was looking for. They are growing pretty fast, but this should really get them going.
I have decided to pile up the manure in and around the garden this year, as it’s just too much work to wheel it across the valley. If I don’t use it all to side dress the plants, I can spread it out in the fall.
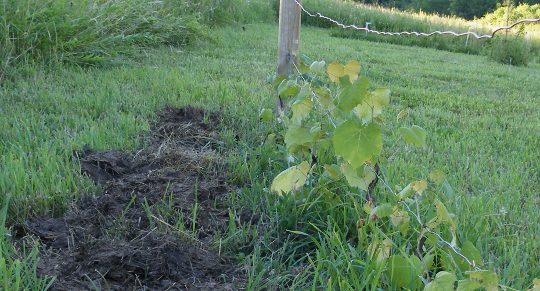
I’ve spent a few hours fertilizing all of the grapes, and many of the trees in my side orchard. I hope to spread this growing additive to all of the plants in my larger “perennial” garden. I’ve started with a small amount, in case it is too “hot”. If the plants show green growth, I’ll add lots more.
As a side note, I’ve been dosing the piles with water, hoping it will cause them to “cook” faster. It seems to be working, as each pile will steam when the sun goes down. This means the piles are very warm inside, which should encourage all the little bugs and such to grow faster, and convert that manure into rich black dirt.
First Melons
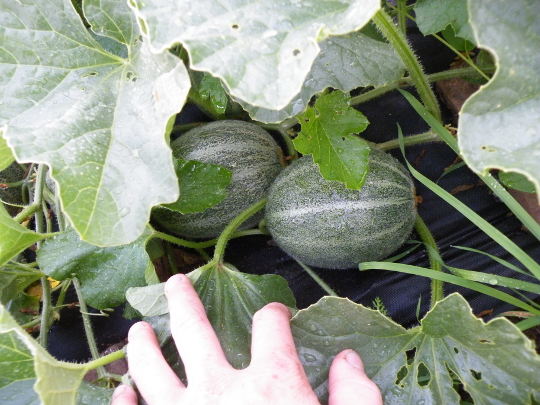
Melons are something I didn’t think I was very good at growing, as last years melons never got bigger then the one in the photo above. This year, I’ve changed three things: Manure, Water and Weed Cover. These changes have caused the plants to grow much more rapidly, and set fruit far earlier then last year. We used black weed cover, which helps prevent weeds, but also heats the soil up. I’ve also made it a point to water huge swaths of the garden daily due to the high tempuratures. I usually get started around 7:30 and finish up well after 10.
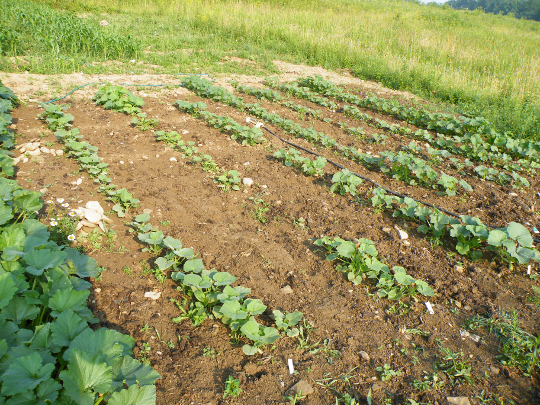
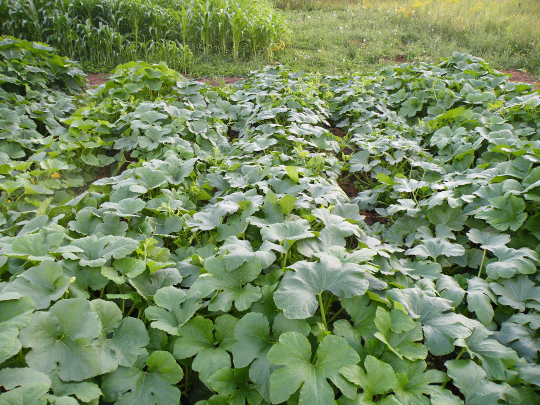
I’ve been adding composted Rabbit Manure to the last portion of the garden, where we’ve planted winter squashes. The plants in this area were all started from seed, after everything else was planted, and they were a bit slow starting. I’m hoping to encourage them to grow faster with some good old black dirt. This manure has been cooking for about 6 months, and I had to wheel it by hand from the other side of the valley where it was piled up. So far the plants have responded quite well.
For the most part, I spend a good amount of time in the garden alone weeding, watering, and turning the soil, but every few days I get a whole bunch of helpers at once. Many hands makes short work for sure ! When I get all of these helpers weeding at once, I can relax easy at the end, knowing we’ve put forth a huge effort in the war on weeds. The garden has very few weeds this year. I should find some pictures of last years garden… I was a bit lazier then…
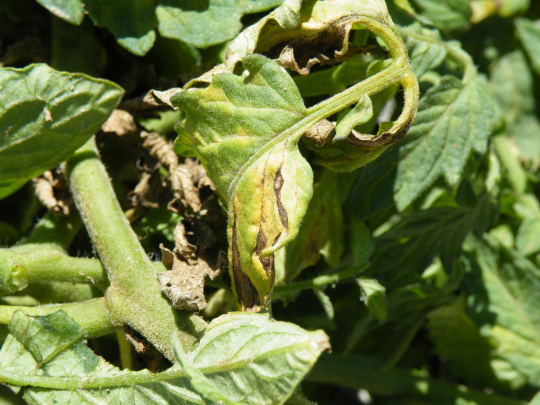
I’ve had a few tomatoes affected by some sort of affliction. I’m not sure what this pest is, but I’m fairly confident it is not Late Blight, as the whole tomato patch would surely be in ruins if it were. I’ve ripped out three plants, all of the same variety that showed damage. I’m not taking any chances this year, after loosing several hundred plants last year. If you can identify this affliction, please leave a comment with it’s name.
The rest of the tomatoes are doing great. I have Not been watering them, since I do not want to foster the conditions for blight. The tomatoes seems to be getting enought water though, as their leaves show no signs of need. If they begin to look wilted, I’ll definately give them a sprinkle.
 Warm Season Wrap-up






Comments: