Archive
Storage and Seeds

Canned Tomatoes
While the warm season harvest may be over, there is lots of work pertaining to the warm season left to do. One of the biggest challenges is organizing all of the food that was packed away. The canned items should be stored in a way that allows the cans to be inspected from time to time. A few cans will not properly seal, and if left to sit unsealed they are capable of making a real mess. You can tell the cans are no longer sealed when the center portion of the lid pops to the up position, as opposed to the downward position created by an internal vacuum. When the lids pop up, the contents should be discarded either in a compost pile or in the garbage. Out of over 100 jars of canned tomatoes only three have become unsealed.

Giant Speckled Lima Beans After Drying
The harvest may be over but it’s now time to collect seeds for future planting. I’ve found that the hot greenhouse makes harvesting and storing dry beans pretty easy. I start by collecting the bean pods and spreading them out on my tables in the greenhouse. The sun will then dry out the outer husk making the process of removing beans fairly easy, simply apply pressure to the outer husk and watch the pod crack along the seems. The dry beans inside can then be stored in a glass jar for planting next spring.

Lettuce Seed Pods
Lettuce seeds are also pretty easy to collect if they are allowed to dry in the sun. The plants will grow to about three feet in height, and will grow tiny seed pods after setting small flowers. I’ve been experimenting with the quickest way to harvest the seeds, but for now the best advice I can give is to collect each pod individually, and press the pods between your fingers to release the seeds within. You will then need to separate the seeds from the pods, or simply plant the pods with the seeds in the spring.

Pak Choi Seeds Not Ready
It’s nearly time to collect Pak Choi seeds as well. I didn’t get a large enough harvest to cook with this Asian vegetable, but I did try it raw, and it wasn’t bad, so I plan to save lots of seeds for next year. The plants seemed to put all of their effort into seed pods, so I may have planted them late in the season, but there will be plenty of seeds for next year.

Pak Choi Seeds Ready
Before collecting the seeds, wait till the pods turn a brownish color, and crack open easily. A few of the pods have already turned brown, but the majority are not yet mature.
You may also like:
 Life Beyond Tomatoes
 Checking on the Tomato Patch
 A Three Bean Story
 August 4th Harvest
 I’ve Become a Tomato
 Next Year’s Garden ’12
 Greenhouse Tomatoes
Life Beyond Tomatoes

Cart Full of Tomatoes - Photo by Sandra Macpherson
The valley is awash in a sea of ripening tomatoes. At one time it was acceptable to pick tomatoes every week or every 4 days, but that time has come and past. It’s become one of those occasions when all hands are required on deck, to pick, and pack this win-fall of healthy food. I try to help as much as possible, but the work continues even when I’m at work. My Mother, Sisters and Davie have been picking and washing off the tomatoes the last few days, and the cart above is full of tomatoes thanks to their effort.
I was told that if I would have stopped by while everyone else was helping, they were planning to pelt me with mushy red projectiles as I headed towards the front door. I’m reasonably sure the statement was in jest, but I’m glad I didn’t get to find out first-hand.

Jessica Looking at a Lot of Tomatoes
I was showing my niece, Jessica, and my nephew, the little gardener, just how much food we had produced in our garden. I’m sure both of them were just as amazed as I was to see sooooo many tomatoes.
Some of these tomatoes still need to ripen, while others have already been packed away in jars. The boxes on the floor to the right contain mostly canned tomatoes, some spaghetti, and a few boxes of other things.
The blue box labeled “Light” contains Pennsylvania home grown plums. They were a gift from a neighbor, and I hope to start a bunch of little trees from the pits.

Peppers
There is life beyond tomatoes however, and it starts with my other big crop for the season: Peppers. The ones shown are still a bit young, but I picked them anyway. There was a tiny chance that a frost was coming our way, and I didn’t want to loose out. While picking, I may have found a pepper plant that rivals Chablis Hybrid peppers in production. I don’t know what the name of these peppers are, but I planted them at least two weeks after the rest, and they are producing comparable amounts of peppers. I’ll be saving the seeds from these long green peppers and replanting them next year.

Saving Seeds
I’ve also been busing saving even more seeds. The peas that died a month or so ago left lots of seeds behind in dry, blackened pods. The trick to saving them for next year is simple. Take them out of the pod and keep them dry. I’ve been doing the same thing with my Ying-Yang Beans and Brown Crowder Beans. The Ying-Yang beans have been more of a pain to shell and so, I haven’t yet freed them from their pods.

"Dwarf" Bananas
My “Dwarf” Bananas are still growing very well, but with no sign of edible bananas. One of the plants is about four feet tall, and the other is at least five feet. They collect more light in my kitchens bay window they they let past, and I’m wondering what I’ll do in a few years when they have grown to the ceiling ? I guess I’ll have to add on a new tall sun room.

Opportunity Salad September Edition
The best part of a garden is the hope it gives you in the spring, and the reward it provides you in the fall. I wanted to eat something good the other day, but I’m about sick of lettuce, so I decided to make a salad without lettuce. Instead, I added some Swiss Chard, colorful tomatoes, cucumber, celery and onions. Add to that a touch of Extra Virgin Olive Oil, and you’ve got yourself a snack that would make any gardener smile. I was quite proud to notice that only the olive oil was from the store; I planted the seeds that grew the rest.
You may also like:
 Tis the Season for Picking
 Tomatoes, Tomatoes, Tomatoes…
 Photos From the Tomato Patch.
 A bittersweet harvest
 2011 Tomatoes
 Tomatoes
I’ve Become a Tomato

Sterilizing Jars
I knew I was growing a lot of tomato plants when I was planting seeds this spring, and I realized that I would probably get a lot of tomatoes no mater what happened, but I didn’t imagine what would be done with them all. I figured that if I grew lots of tomatoes, everyone on the farm would find lots of uses for them, and we have. Lately everyone has been working on one task more then most others: Canning Tomatoes. The process begins by sterilizing the jars which will contain the veggies.

Diced Tomatoes
The tomatoes need to be washed off, rinsed, dried and finally diced into smaller chunks. The amount shown above will fill about seven large jars.

Fruit Fresh
Before putting the lid on the jars, we added a small amount of “Fruit Fresh”, and added water until it was within one inch of the lid. The right amount of water is important for the jar to seal.

Sealing Jars
After placing the lids on the jars it’s time for a good half of an hour bath in boiling water. Be careful not to get burnt by the hot water.

A Lot of Canned Tomatoes
Each batch yields about seven jars, so you can imagine that we have been canning quite often. All of the tomatoes shown have come from one of three gardens including my sisters, my mothers and my own garden.

Yes to Yellow
We even tried out some yellow tomatoes after hearing that any color tomato is safe to can.

More Tomatoes
After helping with two batches of cans on Sunday, I figured I would go pick some more tomatoes. I have been trying to pick the tomatoes every four or five days, which gives the green tomatoes some time to start ripening. For now, I’ll pick any tomato that’s not green.
IT Farmer
 in Northwest Pennsylvania")
The Information Technology Farmer (IT Farmer) in Northwest Pennsylvania
NWPA Backwoods
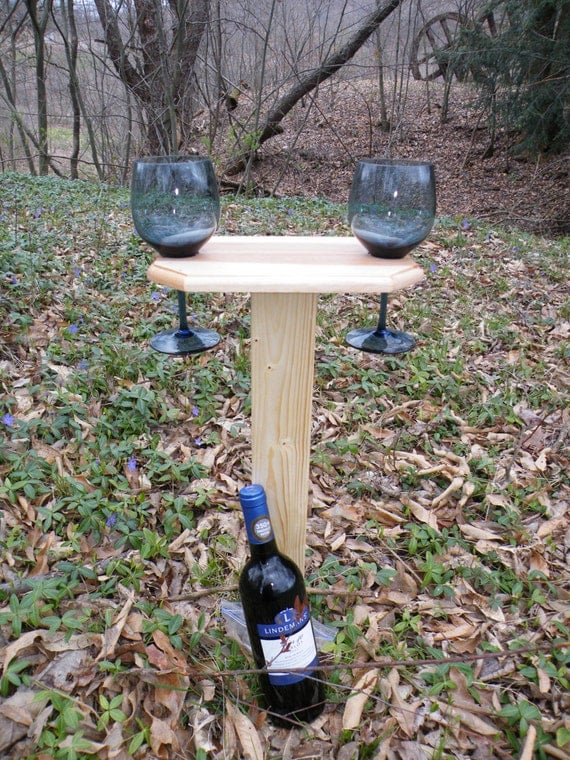 Outdoor Wine Glass Holder
I.T. Farmer’s Journey

Fight Global Warming

CO2

Going Simple

American Farmland Trust

ClustrMap


Comments: